
Snowboarding Catedral: The Master Guide to the Infinite Descent (2026 Edition) | Snowboard
Master the 1,100m vertical drop of Cerro Catedral. Our 2026 guide for snowboarders covers the best routes to avoid flat spots, edge control in the Cañadón, and lift prices.
CATEDRALBARILOCHEEN
Bariloche Top – Guest Contributor
3 min read
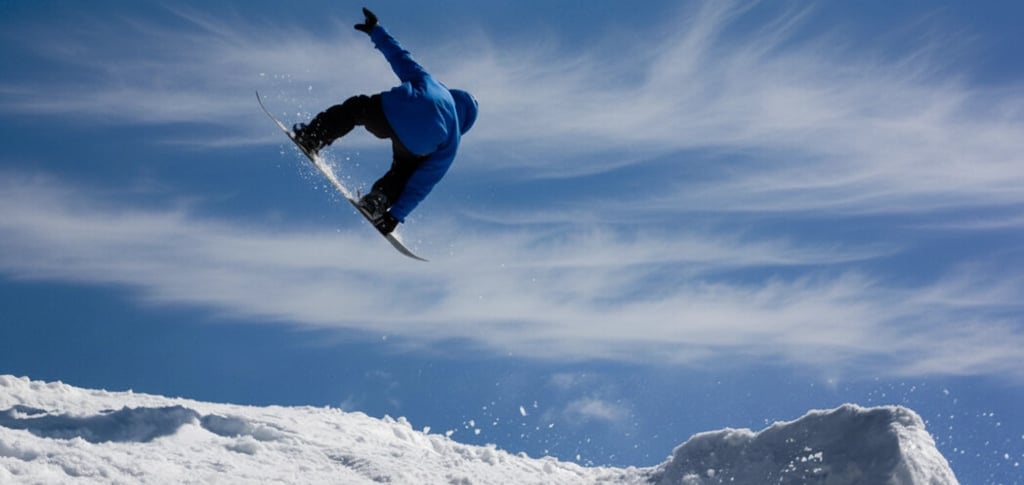
If you are one of those who prefer to go sideways, you know that Cerro Catedral is an incredible playground, but it can also be a trap if you don't know the connections. For the winter of 2026, the mountain is more modern than ever, but for us snowboarders, the key remains the same: inertia. There is nothing worse than getting stuck on a flat section and having to unbuckle your back binding to skate.
In this guide, we will navigate the 1,100 meters of vertical drop that separate the summit of Nubes (2,100m) from the Base (1,030m). We’ll show you how to surf the entire mountain in one shot, dodging bottlenecks and using every bump to catch some air.
Phase 1: The Strategic Ascent (Elevation 1030 to 2100)
To keep your legs from burning before you even start, efficiency is key.
Ciprés Quad Chair: This is a variable-speed "Express" lift. It’s a blessing for us because loading with one foot strapped in is much smoother. As you go up, look to your right at the Eventos run. Check the snow texture; if the snow cannons have been active, you’ll notice a granular, whiter surface. This "technical snow" is your savior at the end of the day because it handles the afternoon "slush" much better than natural snow.
Ñire Lift: After Ciprés, take a short ride to the Ñire chairlift. Warning: this is a fixed-speed lift. Keep your board perfectly straight for the "kick" at the start. Use this ride through the lower forests to double-check your bindings and ensure your straps are tight for the summit.
Phase 2: Conquering the Summit
From the top of Ñire, head straight to Pista Central. You need to carry good speed here; there are flat sections where, if you're too slow, you’ll be skating. This area connects to ABC Norte, a wind-protected sector where powder often stays fresh longer.
The Tunnel: Cross the Central Tunnel, a metallic structure that feels like a video game level, to reach the base of the Nubes chairlift.
2026 Budget Note: A daily pass is approximately $125 USD. To make it worth it, you must reach Nubes before the sun softens the snow. Be ready for the wind; at 2,100 meters, it can be brutal. Tighten your goggles and neck gaiter—the headwind on the lift can freeze your face before you even drop in.
Phase 3: Starting the Infinite Descent
Standing at the top of Nubes, with Lake Nahuel Huapi at your feet, the air is pure. Do a final safety check: straps tight, leash secure.
Panorámica de Nubes: Drop in to the left. This red run is a dream for snowboarding—it’s wide and allows for massive, high-speed carving turns along the ridge. Feel the void on either side, but trust the run.
Punta Nevada Warning: As you reach this area, the track narrows and gets faster. Hold a firm heel-edge if there are crowds, as collisions are common here if someone loses control.
The Lynch Crossing (Crucial Step): To get from Punta Nevada toward Lynch, there is a very flat traverse. Do not brake! Keep your board flat and point it straight toward Refugio Lynch. If you stop here, you are walking.
Phase 4: The Test of Fire in the "Cañadón"
Continue along Panorámica de Lynch (blue run) to Piedra del Cóndor. This is high-mountain scenery at its best. But prepare yourself—after La Montura, you enter the Cañadón.
Cañadón (Technical Red): This run often features "crystalline ice." This is the ultimate test: you must engage your edges with total conviction. If your board starts to vibrate (chatter), lower your center of gravity. In 2026, with premium rental gear costing around $30 USD per day, you don't want a sliding accident on this hardpack.
Phase 5: "El Bajador" and the Cascade Sector
Past the Cañadón, the terrain gets playful. Enter El Bajador, a less crowded run where you can pick up speed before hitting the lower mountain.
Cascada (The Main Base Run): Thanks to the cannons, there is always snow here, but it’s dense and heavy. By now, your legs will be screaming. Cascada is wide but full of beginners and ski schools.
The Pro Move: Be a master of anticipation. Avoid jerky movements and read the flow of the skiers ahead of you. At the end, you have a fork:
Right: For a mellow, low-pitch finish.
Left: If you still have juice left for one last hard carve before the base.
Phase 6: Eventos and the Finish Line
The final stretch is Pista Eventos. By the afternoon, this area is often full of "potatoes" (heavy, slushy bumps). Keep your weight slightly back to "surf" through this soft snow and reach the village with style. Mission accomplished: you’ve ridden the entire mountain, top to bottom, without ever unbuckling.
